
| The other day I was asked about this and decided to finally post this as I had taken pictures of the process. This repair was performed a little over a year ago as a temporary repair before having a lull in our flying season to the take time out to get a new panel sewn in. However, still today, you would be hard pressed to find the repair location and it is holding strong with over 100 hours + on it. I am expecting this repair to last the remaining life of the glider. | 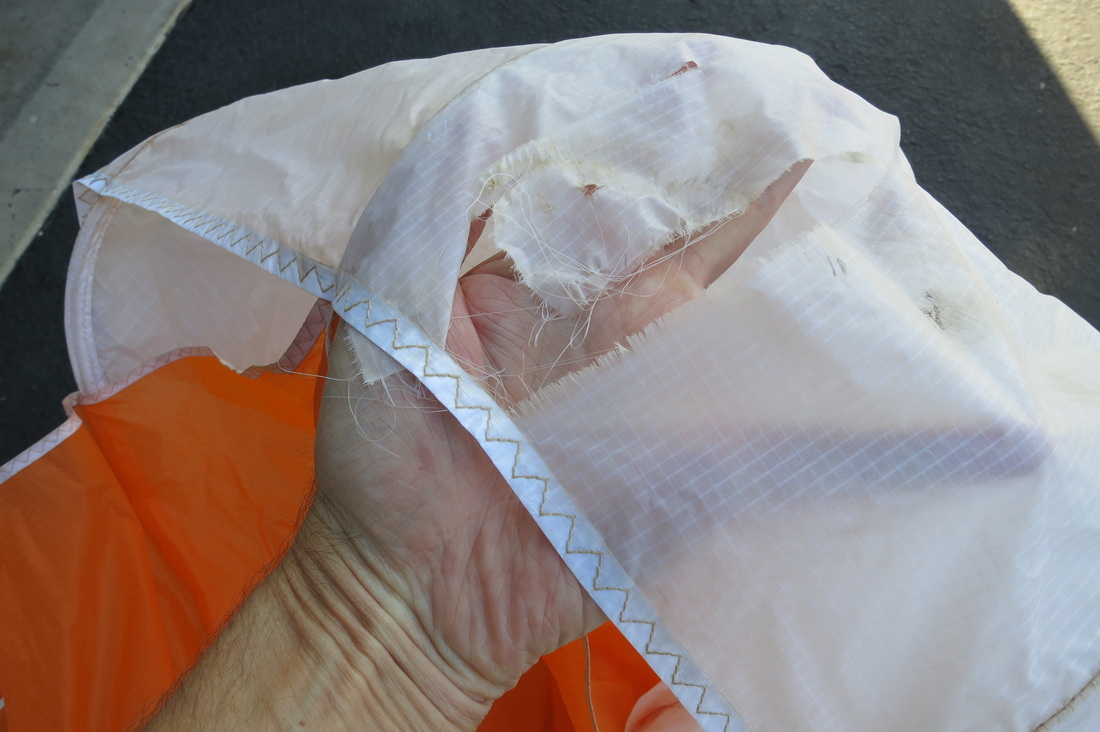 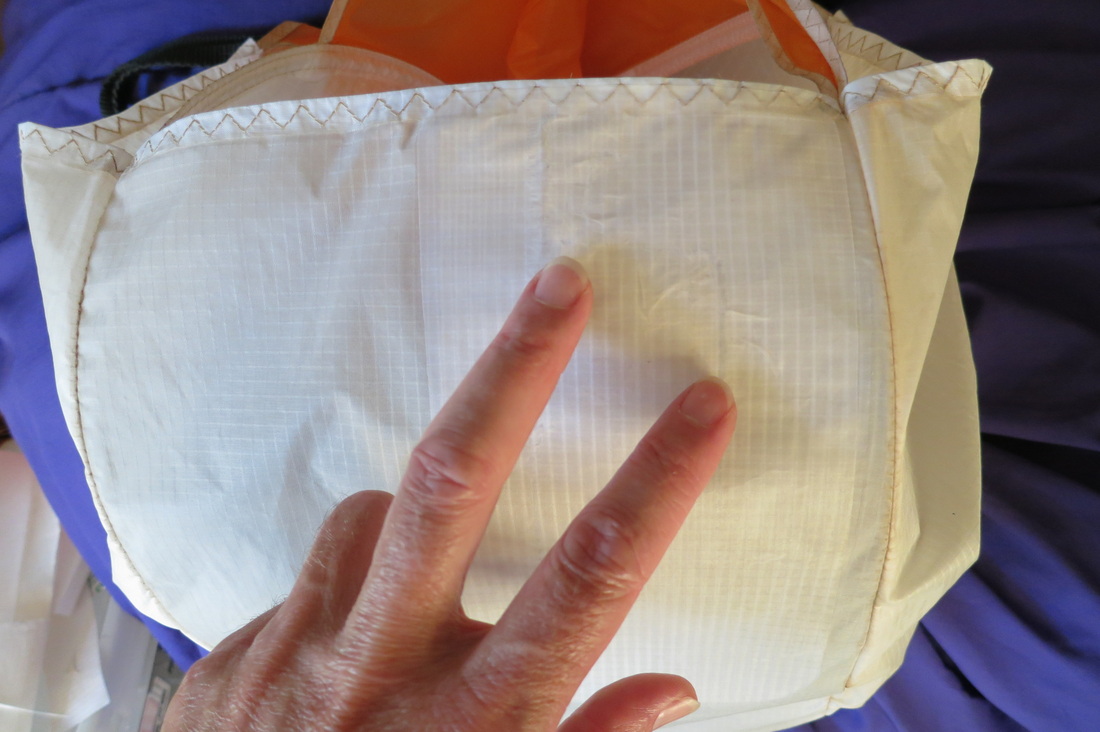 |
Note: Always have a professional repair your glider and or get a second opinion from a respected peer before repairing, while repairing, and attempting to fly a repaired a glider if you do attempt to repair a glider yourself . . . this information is posted to show what is possible and is not intended as a complete do it yourself repair guide by the author. . .
The key to large and small repairs is blocking out and getting the repaired surface as smooth and clean as possible before adding repair tape.
Essentially, foam, card stock and chip board (single wall packaging cardboard) was used to block out the wing profile smooth inside out, masking tape applied to temporarily align and hold the ripped sections, repair tape applied , then the process repeated back and forth turning the glider cell inside and right side out.
 |  |  |
Rough Repair Steps:
- Block out the wing profile with foam and card stock
- Clean areas to be repaired with alcohol
- Apply masking tape to temporarily align and hold the ripped sections
- Make wing profile as smooth as possible to original profile
- Turn cell inside out
- Block out the wing profile with foam and card stock
- Apply masking tape to temporarily align and hold the ripped sections
- Repeat steps 1-7 until you are happy with the section alignments and resulting profile with no bulges.
- Turn wing cell inside out (1st layer of repair tape will be applied to inside)
- Remove masking tape from inside surface
- Clean areas to be repaired with alcohol
- Trim ragged edges and threads close and smooth.
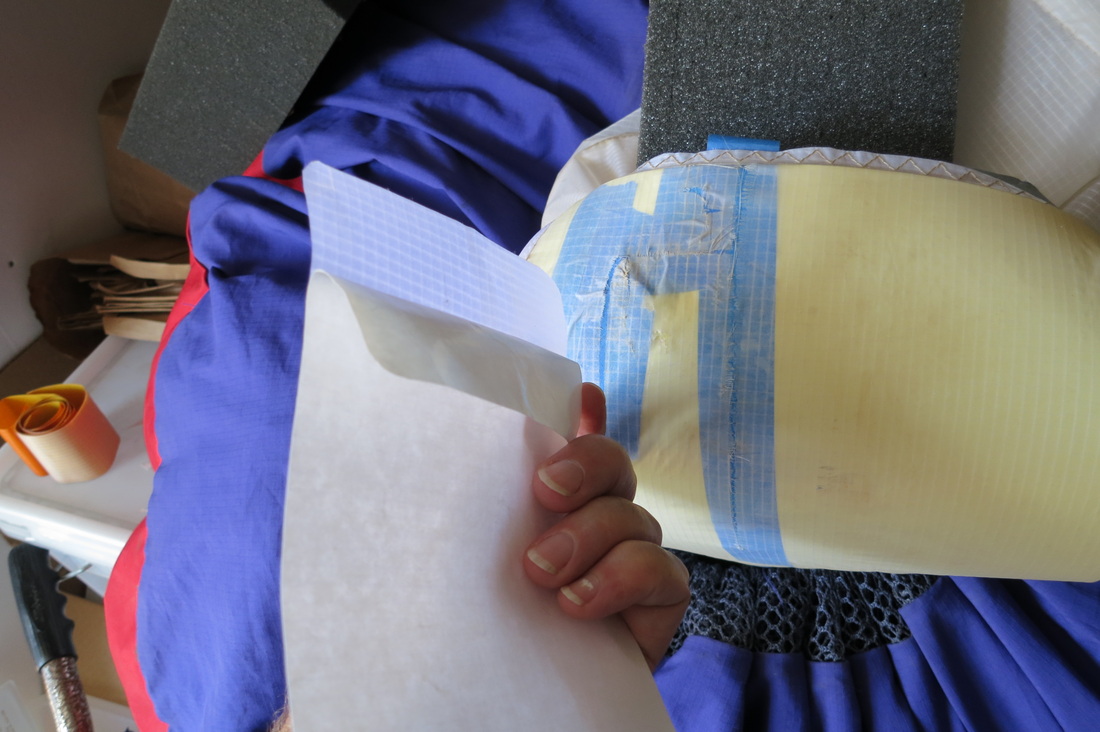
- Cut and trim Repair tape. Round out edges to minimize point stress points.
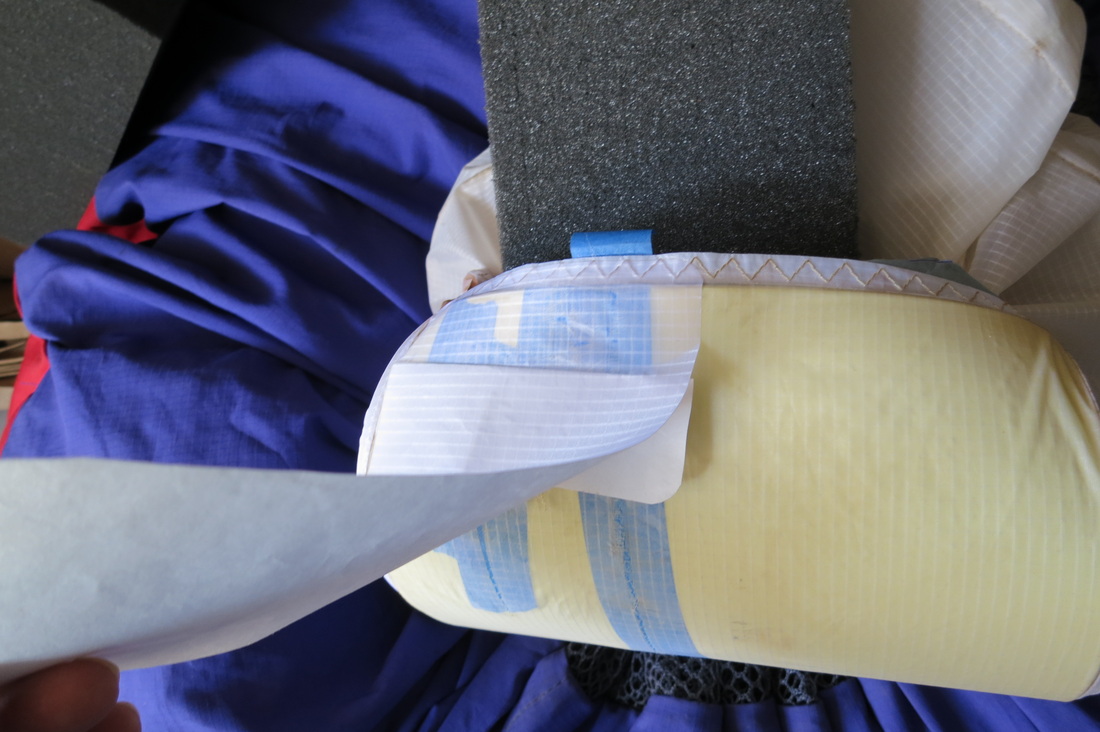
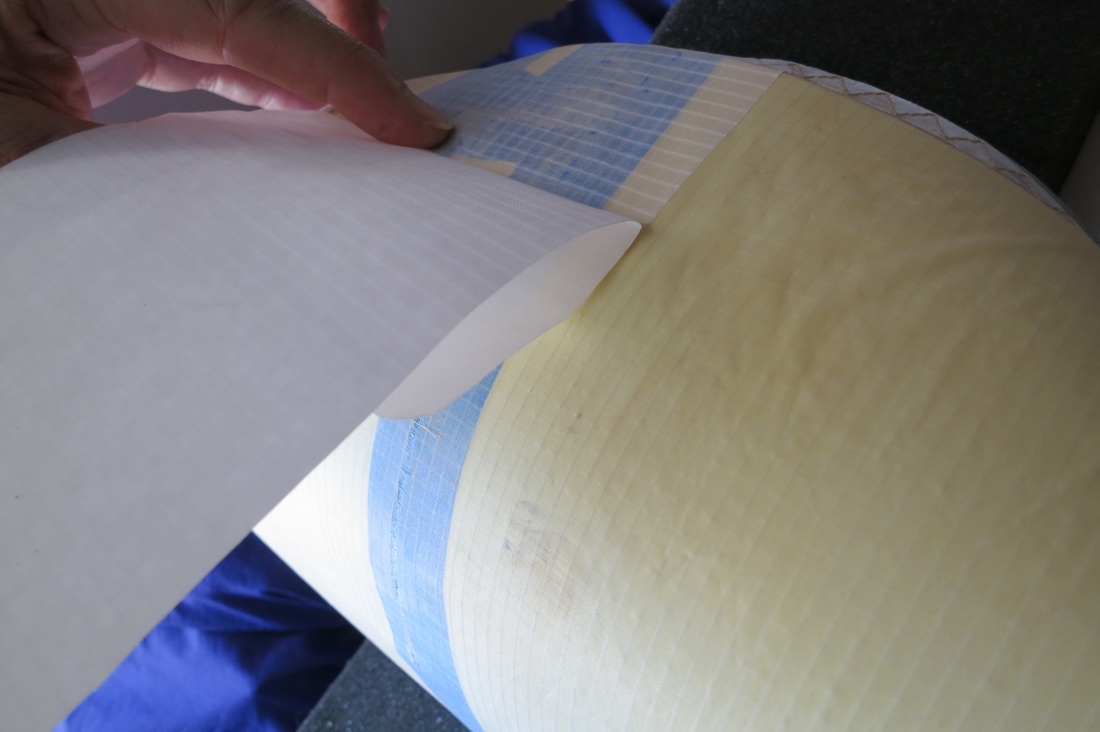
- Peel back backing from one side in small strip
- Apply to wing and carefully remove backing a little at a time smoothing and preventing and bubbles or wrinkles along the way
- Remove any wrinkles and Set adhesive by burnishing with a plastic spoon.
- Turn cell right side out
- Block out the wing profile with foam and card stock
- Check resulting profile with no bulges. (this is your last time to correct with any masking tape from inside)
- Remove Masking tape from outside surface
- Clean areas to be repaired with alcohol
- Trim ragged edges and threads close and smooth.
- Cut and trim Repair tape. Round out edges to minimize point stress points.
- Peel back backing from one side in small strip
- Apply to wing and carefully remove backing a little at a time smoothing and preventing and bubbles or wrinkles along the way
- Remove any wrinkles and Set adhesive by burnishing with a plastic spoon.
- Inspect and kite your wing at your favorite training hill before embarking on your next big flight...

 RSS Feed